
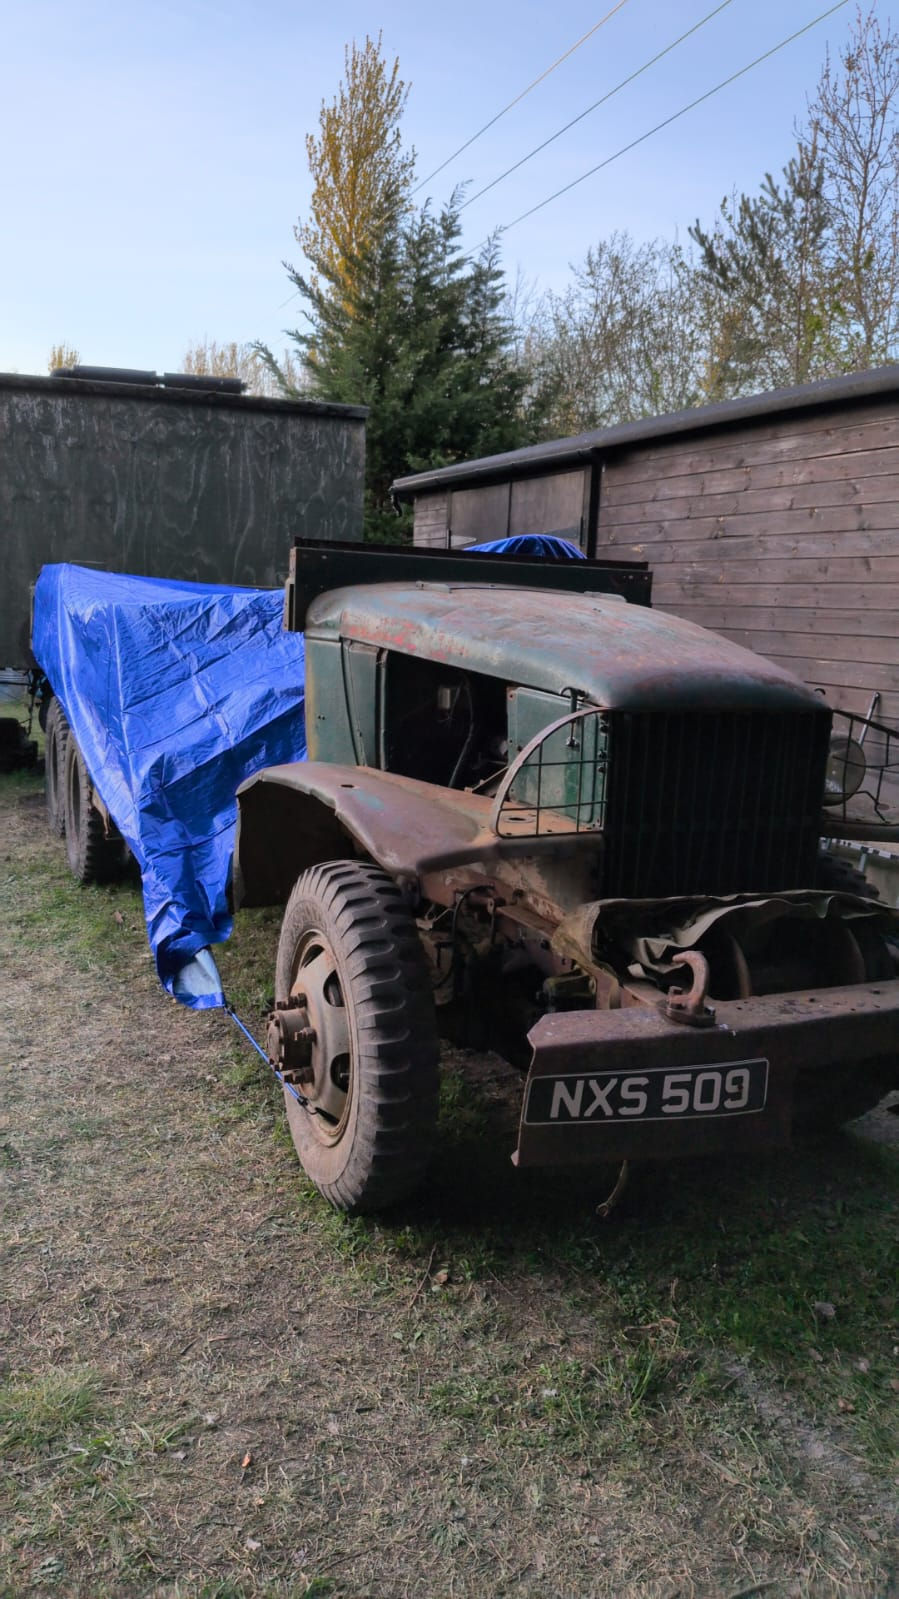
#3 Work Begins! | The restoration of Miss Drop 44's GMC CCKW
- George Abbey
- May 5
- 3 min read

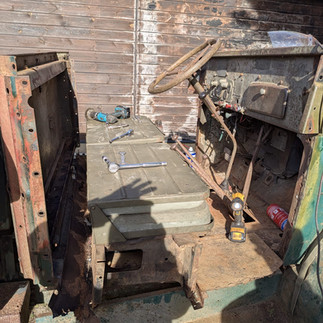
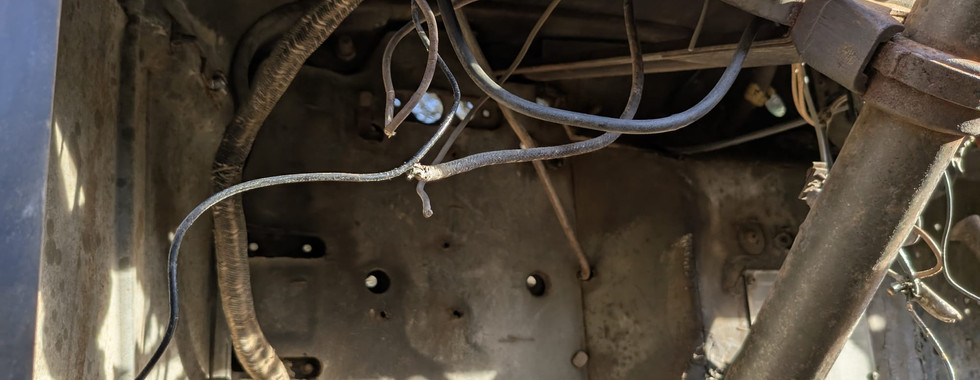
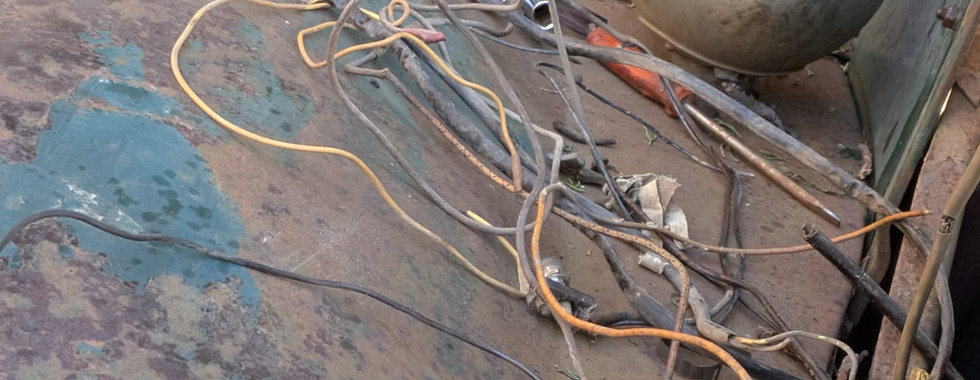
Now that the jimmy is home, work must begin! We decided to start by ripping out all of the many many unnecessary electrics from underneath the dash/ inside the engine bay.
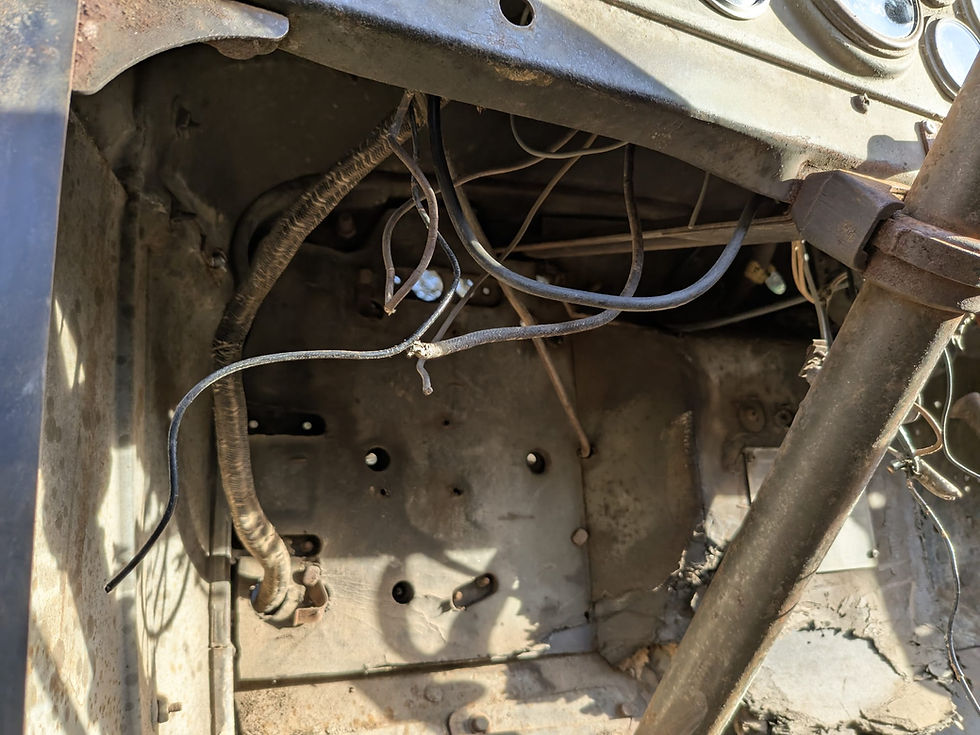
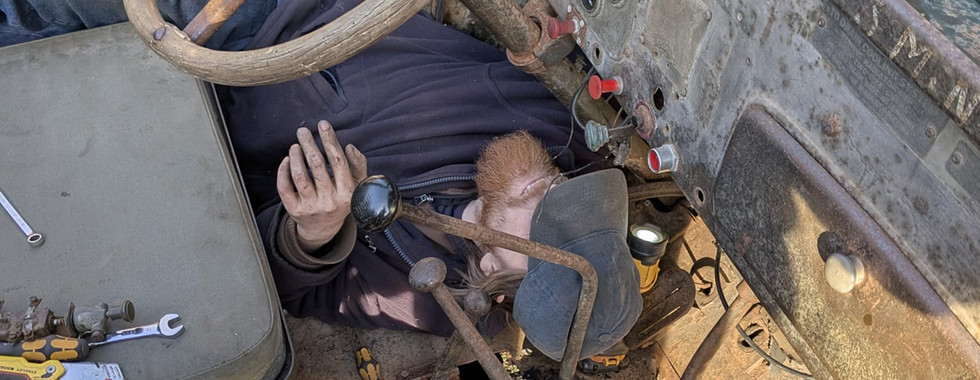
This plan very quickly crumbled as we realised just how awkward it was to position yourself to where you could actually see under the dash without being poked or prodded by any of the many levers or getting a jumper caught on a jagged edge. Naturally, the next step was to rip the entire cab apart...

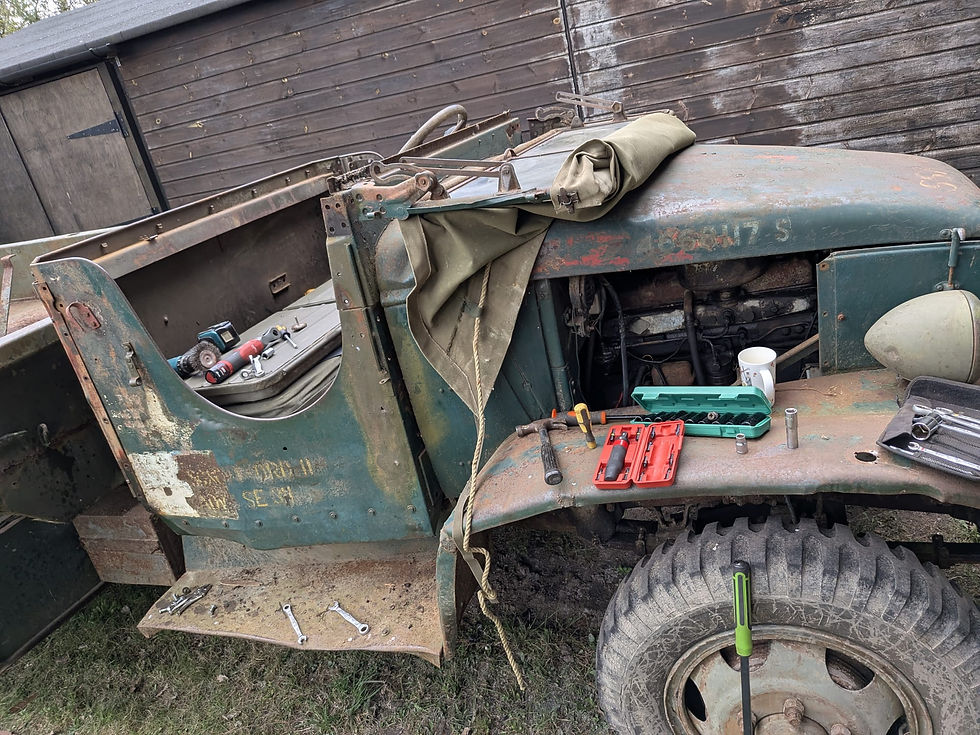

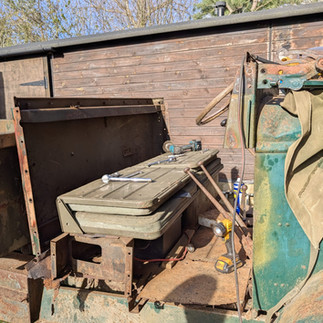
Step one was to get all of the canvas out of the way, unbolt and fold the windscreen down. Then came the fun part... cab removal! First came the sides, with a healthy serving of WD40. Fortunately for us the floor had given up completely - though this doesn't sound particularly fortunate I admit - but this meant that the line of bolts that run across the bottom of the sides were holding onto nothing. This made it quite quick work removing any bolts that still had material to hold in place. The only struggle we had here was after all of the bolts were out. Now I'm sure if every panel was as straight as it was when it left the factory, this would've been an incredibly easy job. Unfortunately for us - they were not.... This meant that we had to remove the back panel of the cab to give us enough room to slide the side panels out. Along the floor of the cab behind the seats is a row of bolts along a seam connecting the floor to the rear cab panel (you'll have to forgive my ignorance of technical names - you're getting the LG version). This seam was FULL of crap.... FULL. This cab must've been collecting dirt since the war and never have been cleaned. This theory was proven when Pikey noticed a glimpse of brass in the sea of brown behind the seats... lo and behold out came a lovely '42 dated DM .30-06.

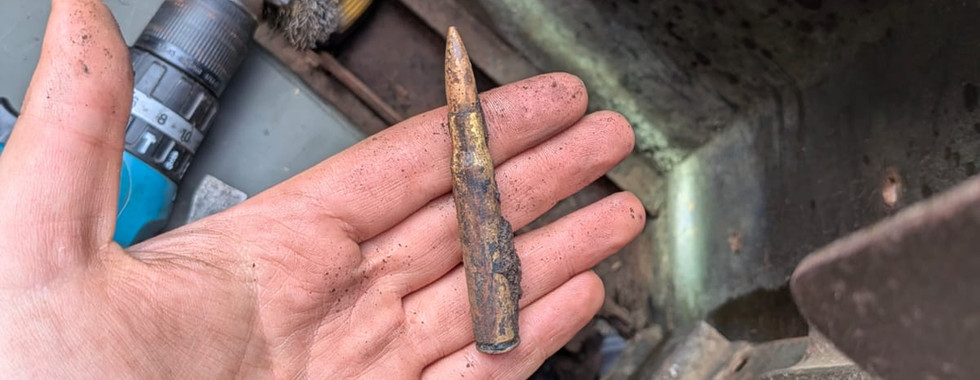


This was of course taken away and professionally deactivated.
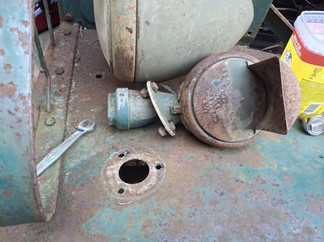
After the excitement was all over, work recommenced removing the rear panel. Most of the bolts came out easy enough, with the exception of two which required some extra persuasion with some mole grips and an angle grinder. Once these were removed the next step was to remove the bolts connecting this panel to the chassis.

This proved easy enough after we figured out how I could wedge the ratchet underneath and fit my arms around the prop shaft and assorted brake hoses. I couldn't help but think that this would've been easier had we not asked Reuben to fit the rear body back on.... Once these bolts were out, it was a simple case of sliding the rear panel backwards and then wiggling the sliiightly warped side panels out, cutting off the final millimetre or so of floor that was still clinging on.


During the struggle of cab destruction, my dad had been removing odds and sods from towards the front of the Jimmy. Included was the winch cable, which decided after 80 years of being coiled up that it had some energy left, and launched itself from the front of the truck once the clamp was removed.


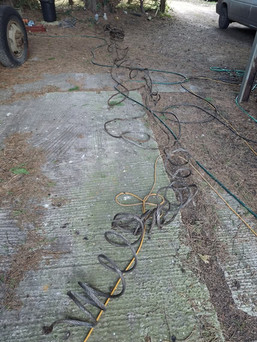


Overall it went pretty well. But we weren't done quite yet, there was still some cable to remove. So with the daylight we had left, Pikey and I began pulling some cables from under the dash, 90% of which had no end point and one that crossed the length of the dash twice just to have two open ends...


And with that, the day came to and end. Overall a pretty productive day (if you see it like that), with plenty of work carried out. Plenty still to come but I cant wait for it!
Comments